2025 was a hard year for me. Loss, distance, and navigating ongoing health concerns took more strength than I sometimes had. Still, I’m carrying hope into 2026; hope for healing, answers, and gentler days ahead.
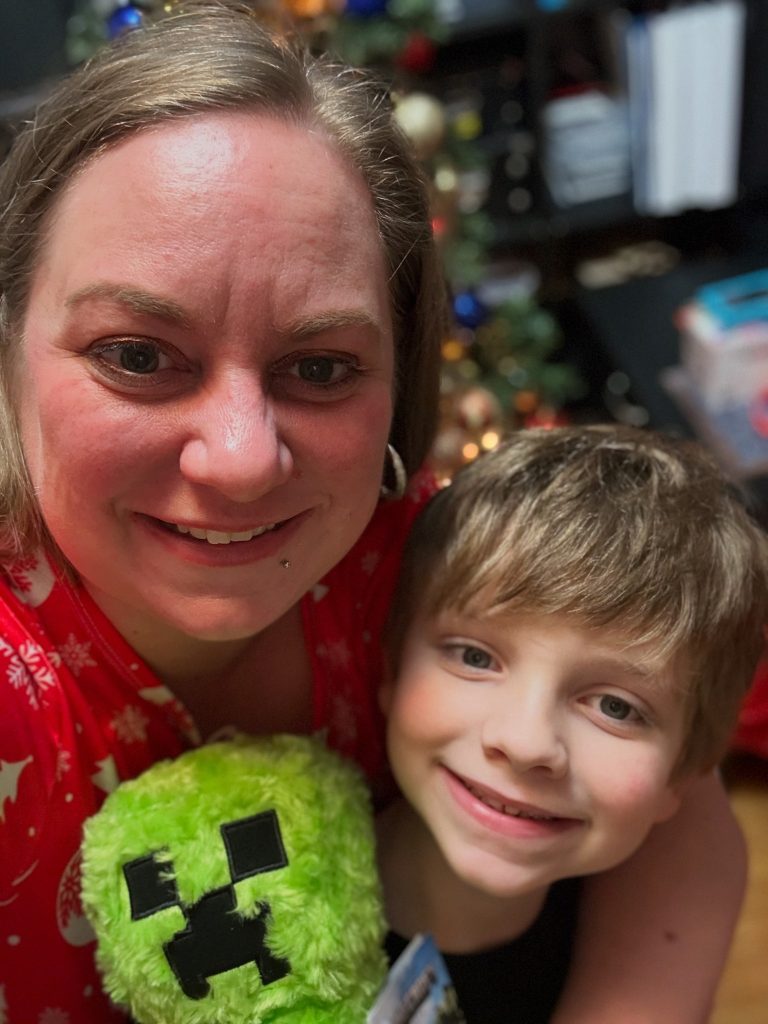
In the year to come, I want to focus on what helps me move forward: watching Søren thrive, holding onto love with Alan despite the distance, seeing Wire of Hope continue to grow and connect people, and learning to step more confidently into my manager role at work.
At the end of the day, it’s about making a difference, even in small ways.
Wishing you all a beautiful new year and everything you’re wishing for. 🤍✨