As the leaves turn fiery shades of red and orange, and the crisp autumn air (let me dream, we have none of that in Florida) ushers in the spirit of Halloween, a timeless tradition comes to life in households across the country. The tradition of carving pumpkins, or jack-o’-lanterns, is a cherished practice that symbolizes the essence of this spooktacular season. This year, I had the privilege of sharing this age-old tradition with my son for the very first time.
The History of Pumpkin Carving
Before delving into my personal experience, let’s take a quick peek at the history of pumpkin carving. This artful practice has its roots in Celtic folklore. The Celts celebrated the festival of Samhain, which marked the end of the harvest season and the beginning of winter. They would carve turnips and other root vegetables and place them by their doors to ward off evil spirits.
The transition from turnips to pumpkins is said to have occurred when Irish immigrants arrived in America and found that pumpkins, native to North America, were not only larger but also easier to carve. This adaptation led to the creation of the modern jack-o’-lantern, now an iconic symbol of Halloween.
The First Pumpkin Carving Experience
Sunday seemed like the perfect day for us to embark on this adventure. Armed with our chosen pumpkin, one YouTube tutorial in mind, an array of carving tools, and creative spirits, we set up in the kitchen.
I choose the pumpkin by myself last week after dropping him of at his grandparents and allowing myself a slow Target run (I needed groceries but I also wanted to spoil my little guy with a couple of toys). No pumpkin patch this year.
Designing the Jack-o’-Lantern: After washing and drying the pumpkin, we discussed our designs. My son drew some lines on the pumpkin and I tried to make a design around it – I am not the most artistic person. But first you have to remove the guts. I’m glad I bought a carving kit because I tried to cut the top with what I thought was a good kitchen knife but I got nowhere, but it was so easy with the tools! Scooping out the pumpkin guts was a little messy but fun.
Then it was time to actually carve and again, wouldn’t recommend doing it without the dedicated tools. It was done so fast, I was really surprised.
It was time to light up our creation. Placing (fake) tea lights inside the hollowed pumpkins finished setting up the scene for Halloween.
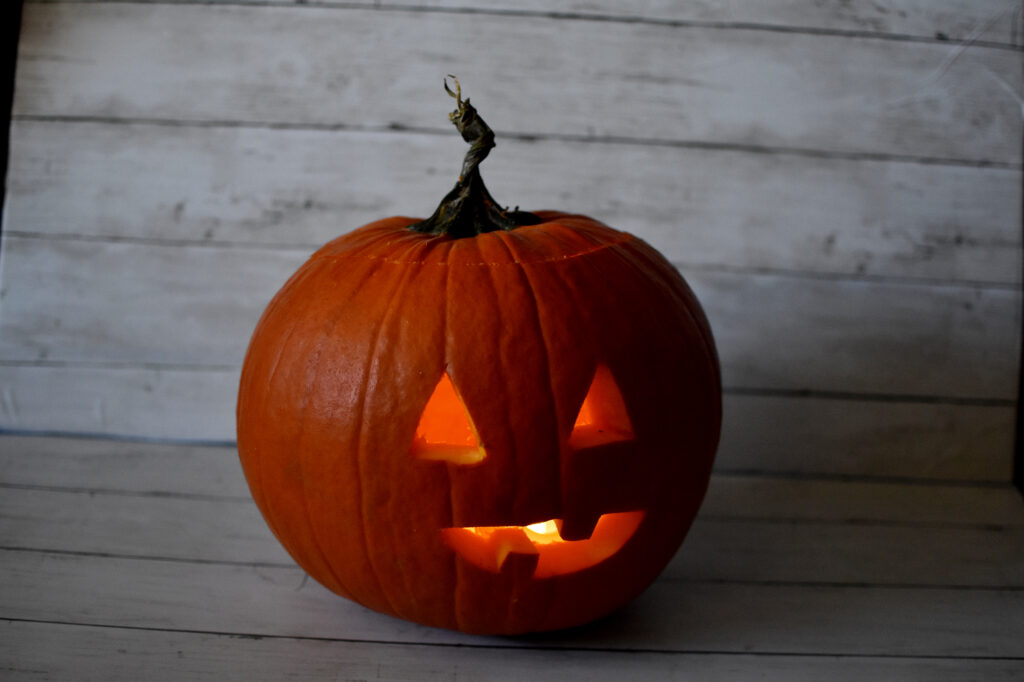
We did a little photoshoot before and after:
